
At the Bohnarosa we believe in freedom. For example, freedom from bondage is a good thing, but we also have free-range mosquitoes. The little suckers arrive in June and fly free until September.
A short walk from the garage to the bird feeder is an exercise in performing arts. Slap the neck, slap the forearm, slap the shoulder, slap the forehead, “Wow I could have had a V8.” Setting down the bucket and fussing with the feeder itself means loss of blood if not done quickly. Sitting outside on a summer evening after work enjoying a cold one is signing yourself up for a suicide mission. Yeah you might get some of them, but the little buggers always win.
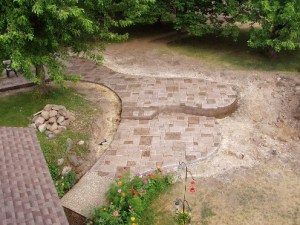
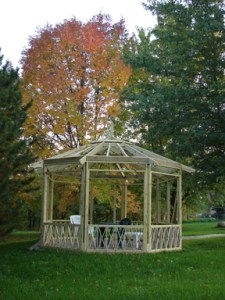
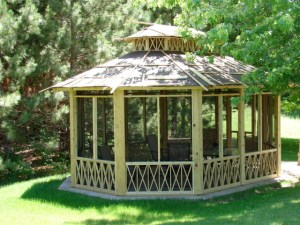
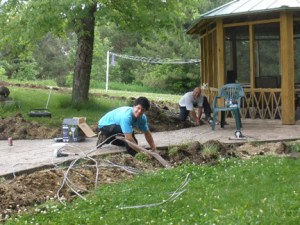
It takes effort to fog the lawn, and not greatly effective. Chemical agents work well, but they are sticky, and who knows what all is absorbed through the skin. The best defense is a good offense became my strategy. I decided to build a screened gazebo.
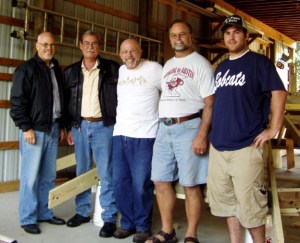
I like the whole DIY approach. As a kid watching MY DAD replace the family cars brake shoes I asked, “How do you know how to do that?” He answered, “If some guy put this together, it should be able to be taken apart, and put back together. If you have to, you can read a book and learn.”
So I did some reading and research on how to build a gazebo. A book from Menards, and a visit to an outdoor-furnishing place in Anoka, MN got me started. One paragraph read, “Most gazebo’s can be built in a weekend.” Time management can be tricky. This gazebo took two years.
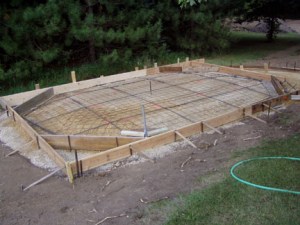
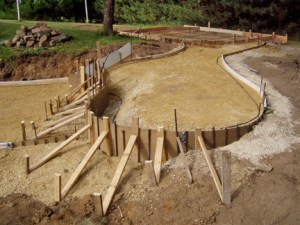
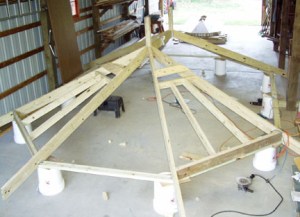
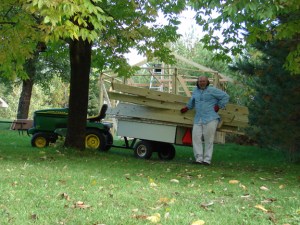
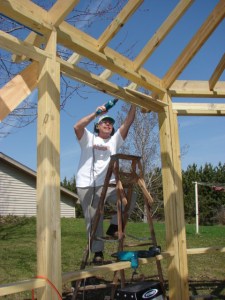
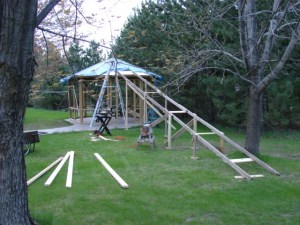
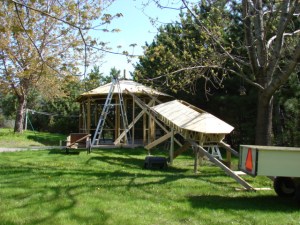
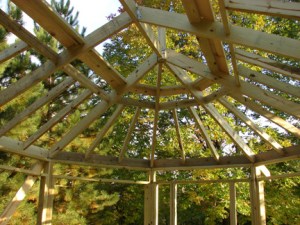
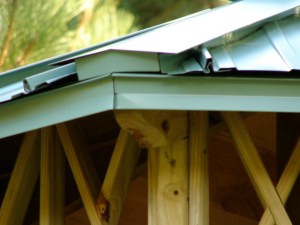
A cement contractor was hired to do the foundation, as I simultaneously built the gazebo walls and roof in the barn. A great tip from the Start-To-Finish Sheds & Gazebos book was to build the roof at ground level. President Trump would say, “This is gonna be a HUGE time saver!” The structure having an elongated octagon shape complicated the gazebo design. Two center hubs were required with an extra long center.
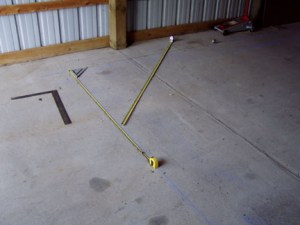
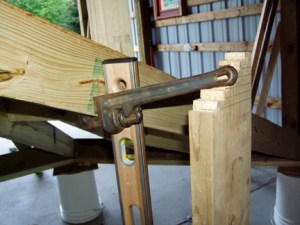
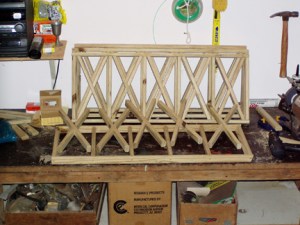
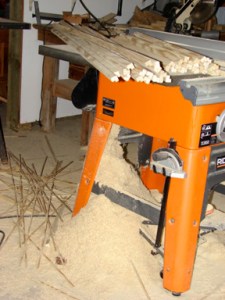
Most of the rafter cuts were compound angles. I used a string and compass to measure the angles. It would have been very difficult attempting all this on a ladder. I suppose a guy could have calculated it on paper, but I’m not into drafting architectural plans.
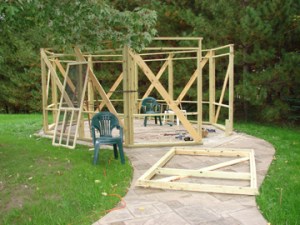
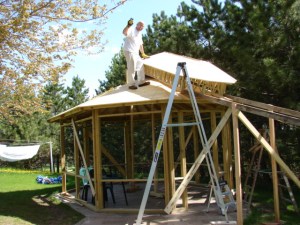
Green treated lumber was the material of choice with exception of the roof underlayment. I mapped out the walls and roof to exact measurements on the barn floor. The wall sections were built first, and then the roof and cupola. After a wall section was completed it was set off to the side, and another section started. The walls were simple to build. The roof was a bit tougher to design and construct. The entire gazebo is put together with lifetime deck screws. Any component can be taken off and replaced if needed.
The roof required an eye catching element, so asphalt shingles were out. I considered slate, metal tiles, and metal panels. Imagination voted for slate, cost won the vote with metal panels.
Jigs were made for repeating patterns, such as the lower panels and screens. I discovered black metal screen provides the best viewing capability. Easy peazy.
Materials list:
- Green treated lumber – various length and size
- Lifetime deck screws – several buckets full
- Black metal screening – enough
- Metal roof panels – enough
- Time – what ever it takes


Hi “Living in Eternity”, I am sooooo impressed by your gazebo! it is lovely. It would have taken me far more than 2 years. In fact, I haven’t even started on my gazebo. Cathy Egan 🙂
LikeLiked by 1 person
Two years go by quickly Cathy. You can do it. I liked the planning and building part, but ya know what? Cooking and eating in the gazebo is even better. Deb will plug in the crock-pot, and a little while later we are dining together, and laughing at the mosquitoes. Thanks for checking out “Living in Eternity.”
LikeLike
I have checked your page and i’ve found some duplicate content, that’s why you don’t rank high in google,
but there is a tool that can help you to create 100% unique content, search for;
Boorfe’s tips unlimited content
LikeLike